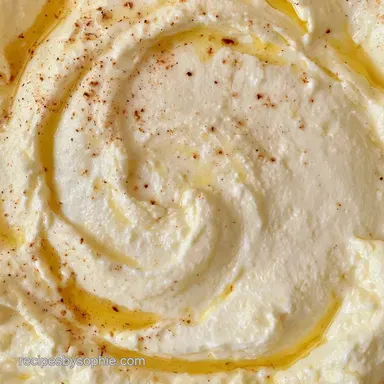
Homemade Ricotta Cheese with Heavy Cream
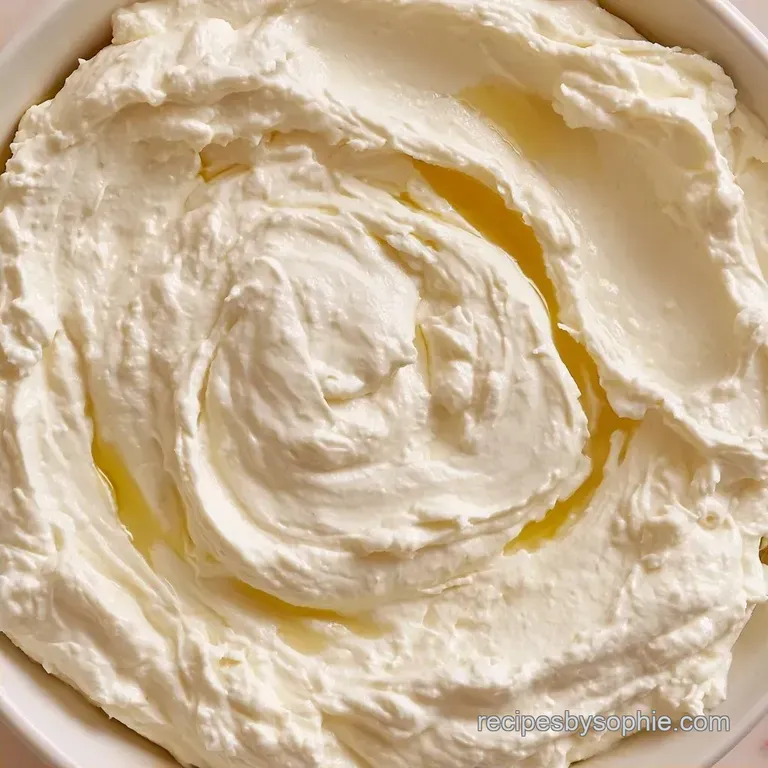
- Time: 3 min active + 30 min cook + 35 min draining/resting
- Flavor/Texture Hook: Mild, milky, and pillowy
- Perfect for: Quick appetizers, pasta fillings, or dessert bases
That smell of warming milk and cream is honestly one of the best parts of the whole process. It fills the kitchen with this cozy, sweet aroma that makes you feel like you're in a tiny Italian village. I remember the first time I tried this, I got too impatient and let the milk boil over.
I ended up with rubbery, sulfur smelling lumps that were basically inedible.
The trick is patience and a low flame. Once you see those small bubbles around the edges, you're in the zone. You don't need a chemistry degree to get this right, just a thermometer or a very keen eye.
You'll end up with a cheese that's miles ahead of the plastic containers from the grocery store. This Ricotta Cheese is lighter and tastes cleaner. It's the kind of thing that makes people ask for the recipe the second they taste it.
Fresh Homemade Ricotta Cheese
Acid reaction: Adding lemon juice to hot milk shifts the pH, which forces the proteins to bond into clumps. This creates the curds and leaves the liquid whey behind.
Fat content: The addition of heavy cream provides a smoother mouthfeel. If you want something even lighter, this whipped ricotta dip is a great start.
| Method | Time | Texture | Best For |
|---|---|---|---|
| Fast (This Recipe) | 1 hour | Creamy & Soft | Spreads, Lasagna |
| Classic (Whey based) | 12+ hours | Grainy & Firm | Traditional Baking |
What Each Ingredient Does
The whole milk provides the bulk of the protein needed for the curds. I always use full fat because skim milk results in a watery, tasteless mess. The heavy cream is there to add richness and ensure the texture stays velvety rather than chalky.
Salt is a must. Without it, the cheese tastes flat and just like warm milk. The lemon juice is the catalyst. It's what tells the milk to separate. You can use white vinegar if you're out of lemons, though it can leave a slightly sharper aftertaste.
The Ingredient Lineup
- 4 cups whole milk Why this? Higher fat equals better yield and taste
- 1 cup heavy cream Why this? Creates a smoother, richer consistency
- 1/2 teaspoon fine sea salt Why this? Enhances the natural milky flavor
- 3 tablespoons fresh lemon juice Why this? Natural acid to separate the curds
Substitutions
| Original Ingredient | Substitute | Why It Works |
|---|---|---|
| Heavy Cream | Half and Half | Lighter result. Note: Less rich, slightly more liquid |
| Lemon Juice | White Vinegar | Same acidity. Note: More pungent scent |
| Whole Milk | Goat Milk | Tangier flavor. Note: Different protein structure |
Gear You Will Need
You don't need much here. A large, heavy bottomed pot is the most important piece. Thin pots have hot spots that can scorch the milk, and once milk burns, the whole batch of Ricotta Cheese is ruined.
You'll also need a colander and a piece of cheesecloth. If you don't have cheesecloth, a clean, thin kitchen towel or even a coffee filter works in a pinch. A digital thermometer helps, but you can judge the simmer by the bubbles.
The Actual Process
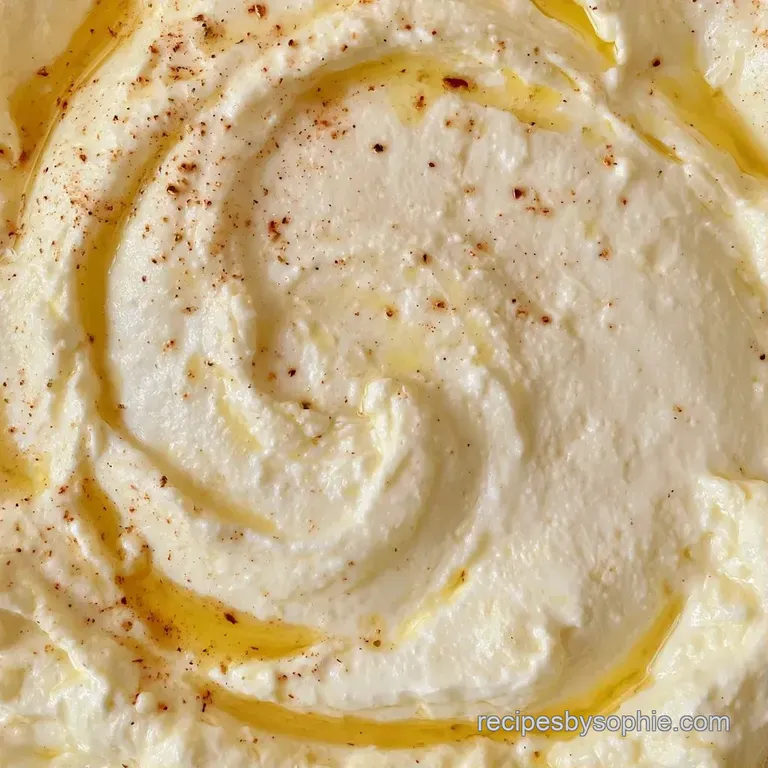
- Pour the whole milk, heavy cream, and salt into your pot. Set it over medium low heat.
- Stir occasionally to prevent the milk from sticking. Heat until it reaches 185°F to 190°F (85°C to 88°C) and shows small, frothy bubbles around the edges.
- Take the pot off the heat immediately. Note: This prevents the cheese from becoming rubbery.
- Slowly stir in the lemon juice. Stir only until it's just mixed in.
- Let the pot sit undisturbed for 10 to 15 minutes. Wait until you see clear, yellowish liquid (whey) and white clumps.
- Line your colander with cheesecloth and set it over a bowl.
- Gently spoon the curds into the cloth.
- Let the Ricotta Cheese drain for 5 to 20 minutes. Drain for 5 minutes if you want a spread, or 20 minutes if you need it thick for filling.
Fixing Common Issues
Grainy Curds
This usually happens if the milk boiled too hard or you stirred too much after adding the lemon. To fix it, you can whisk the finished cheese vigorously or pulse it in a food processor for 10 seconds to smooth it out.
No Separation
If the milk doesn't curdle, the temperature was likely too low or your lemon juice was old. Put the pot back on the heat and bring it back up to a simmer, then add one more tablespoon of fresh lemon juice.
Watery Cheese
You probably didn't let it drain long enough. Just put the cheese back into the cheesecloth and let it sit for another 10 minutes. Don't press down on the curds, or you'll squeeze out too much flavor.
Best Ways to Serve
This cheese is incredibly versatile. I love it simply on toasted sourdough with a drizzle of honey and a pinch of flaky salt. For a dinner party, you can stuff these into spinach ricotta shells for something a bit more impressive.
It's also a great base for a savory dip. Stir in some grated lemon zest, fresh cracked pepper, and chopped chives. If you're feeling bold, fold in some sautéed garlic and baby spinach for a rich appetizer.
Storing Your Cheese
Keep your finished Ricotta Cheese in a sealed glass jar in the fridge. It stays fresh for about 4 to 5 days. If you see any liquid pooling at the bottom, just stir it back in.
Don't bother freezing it. The texture breaks down and becomes grainy once it thaws. As for zero waste, don't throw away that yellowish whey! It's full of protein. Use it as a liquid replacement in your bread or pancake recipes to add a subtle tang and a better rise.
Different Flavor Ideas
For a herbal twist, fold in fresh basil or thyme right after straining. It turns the Ricotta Cheese into a great pasta topper. If you want something sweet, mix in a bit of maple syrup and vanilla bean paste for a dessert mousse.
You can also try a "zesty" version by adding the zest of the lemon you used for the curdling. It brightens the whole dish. For a saltier kick, stir in a tablespoon of finely grated Parmesan.
Decision Shortcut
- For a spreadable dip: Drain for 5 minutes.
- For ravioli filling: Drain for 20 minutes.
- For a firmer set: Chill the cheese in the fridge for 2 hours before using.
Recipe FAQs
How to make homemade ricotta cheese?
Simmer whole milk, cream, and salt to 185°F, stir in lemon juice, and let sit for 15 minutes before straining.
Tip: Use a heavy bottomed pot to prevent the milk from scorching on the bottom.
Which milk works best for this recipe?
Whole milk provides the necessary fat for a creamy texture.
Tip: Avoid skim or 1% milk as they result in a grainy, dry cheese.
Does making it at home provide a benefit?
Homemade versions are often creamier and fresher than store-bought options.
Tip: You can use the leftover whey in your bread baking for extra protein.
What yield should I expect from a gallon of milk?
One gallon of milk typically produces about 3 to 4 cups of finished ricotta.
Tip: Yield varies based on how long you let the cheese drain in the cloth.
How can I thicken the final texture?
Extend the draining time in the cheesecloth to 20 minutes.
Tip: This firmer consistency is ideal for stuffed shells.
What are common mistakes to avoid during the process?
Overheating the milk or stirring too vigorously after adding lemon juice can break the curds.
Tip: Remove the pot from the heat entirely before stirring in the acid.
Can I improve the flavor profile?
Adjust the amount of sea salt to brighten the natural creaminess of the milk.
Tip: Taste a small amount of the curd before the final drain to check seasoning.
Is it true that you must boil the milk for the curds to form?
No, and here's why. Boiling the milk can change the flavor and make the texture too tough.
Tip: Use a thermometer to hit the 185°F to 190°F range exactly.
Homemade Ricotta Cheese